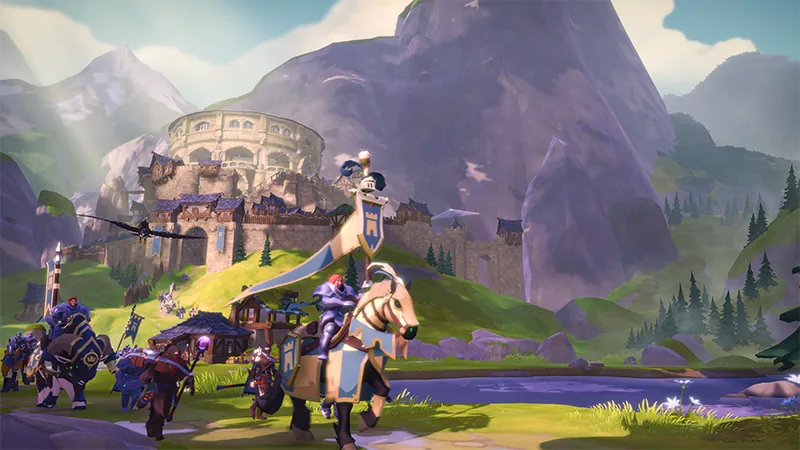


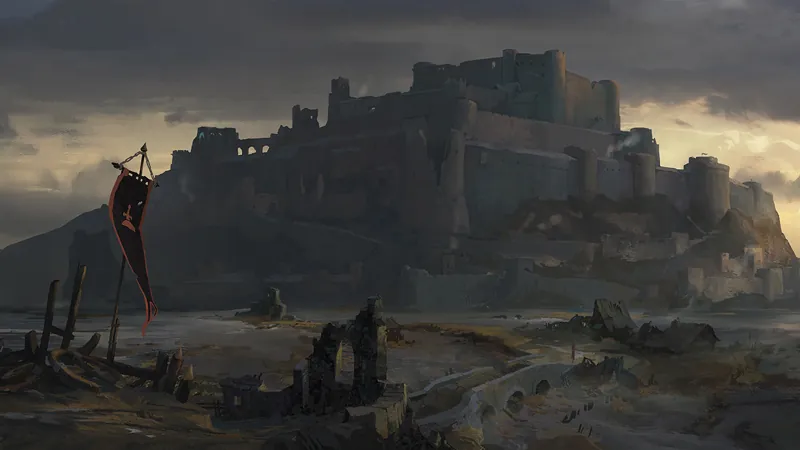
The colour of a zone tells you what you can lose there. Learn the five rules once and most of Albion's risk becomes a choice you make on purpose. Most players lose their first good set because they rode one zone further than they meant to.
 The zones at a glance
| Zone | Who can attack you | If you lose |
|---|---|---|
| Blue | Only enemy faction players, while you are faction-flagged | Knockdown, gear kept |
| Yellow | Players flagged hostile, and enemy factions | Knockdown, gear kept, some durability lost |
| Orange | Everyone in the instance | You keep equipped gear and lose your inventory |
| Red | Players flagged hostile, and enemy factions | Full loot: gear and bags drop |
| Black | Everyone outside your party, guild and alliance | Full loot |
The Royal Continent holds the blue, yellow and red zones around the Royal Cities. The Outlands are all black. Orange rules exist only in instances: the Depths and the Ancient Lands opened from yellow zones.
Blue and yellow zones
In a yellow zone, a player who drops to zero health is knocked down. Your equipped items lose 5% durability, and a little system-generated silver drops by your body. Nothing leaves your inventory. Since the Abyssal Depths update a PvP knockdown in a yellow zone lasts 90 seconds (it was 180).
Two newer rules help you here:
- IP soft cap. Blue and yellow open-world zones, their static dungeons, yellow Mists and Knightfall Abbeys cap Item Power at 1,200, keeping 20% of anything above. A 1,500 IP set fights at 1,260. Randomized dungeons are not capped. Knockdown durability and repair costs scale down to match the capped IP, so a capped T8 item costs about as much to repair as the item it fights like.
- Respawn after 30 seconds. Since Dragonfire, if you have been knocked down for more than 30 seconds in a blue or yellow zone, you can respawn at the nearest region entrance. Outlaws, players in faction combat and players inside an open-PvP subzone cannot.
Yellow zones are where to practise PvP for the cost of repairs.
 How flagging and reputation work
To fight other players in yellow and red zones, click the shield next to your name and stand still while it charges. It takes 15 seconds, so a player standing still near you with a charging bar is preparing to attack.
- A flagged player can attack anyone, and anyone can attack a flagged player.
- Attacking unflagged players costs reputation. Lose enough and you become an outlaw, barred from lower zone types or from the Royal Continent until your reputation recovers. Outlaws also cannot enter Smuggler's Dens.
- Unrestricted PvP subzones, such as treasure sites, are marked by a glowing yellow circle. Step inside and you are flagged for everyone, with the zone's normal death rules and no reputation loss.
Red zones
Red zones use the same flag, but a player who loses dies. Everything you wear and carry drops; some items are destroyed and the rest is lootable. You respawn with nothing at your home or the last city you visited. For a gatherer or hauler, red zones are the first real risk on the Royal Continent, and every road into Caerleon crosses them.
Since Radiant Wilds, several old underground passages between yellow and red zones are now direct region exits (for example Willowsigh Marsh to Darkground Swamp, and Yew Wood to Owlsong Glen). Red zones are closer to safe zones than they used to be, so read the zone colour at every exit.
Black zones
The Outlands have no flags and no reputation. Anyone outside your party, guild and alliance can attack you at any time. They hold the best resources, dungeons and territories, and Outlands rewards grow toward the centre. See the Black Zone gathering guide for how gatherers survive there.
The faction flag
Enlisting with a city lets you raise a faction flag. While it is up, enemy faction players can attack you even in blue zones. Two details catch people out:
- In yellow zones, flagged faction players can execute a knocked-down enemy faction player.
- Knockdowns between faction players cost 30% less durability than normal ones.
A flagged player also gets a protection bubble at the edge of their own faction's city. Faction Warfare covers what you get in return.
Instances keep their own rules
Dungeons, the Mists, Hellgates and the Ancient Lands take the rules of the zone you entered from or the mode you picked. A Mist opened from a yellow zone is non-lethal; one opened from a red or black zone is lethal.
The orange-zone Ancient Lands add Item Freeze (Dragonfire Patch 2): everything already in your inventory when you enter is frozen and does not drop when you die. Only what you pick up inside can be lost. The Depths have no freeze: your whole bag drops. Read the entry panel before you step through any portal.
 After you die
- In full-loot zones your gear and bags drop on your body for the killer to take.
- In knockdown zones you get up with your gear and take durability damage.
- Albion has no gear insurance. Plan every lethal trip as if the set might not come back.
- Type /nav death to get a route back to where you died.
Habits that keep you alive
- Price the set before you enter a red or black zone. If losing it would hurt, change the plan.
- Bank before you change zone colour. Riding from yellow into red with a full bag hands your loot to someone else.
- Inspect players you do not know. Gank builds look different from gathering builds.
- Do not stand still on roads. Gankers wait at chokepoints and zone exits.
- Plan routes with /nav and the safe option, which avoids red zones.
- Do not trust a fresh party member. Since Radiant Wilds, players who leave a party cannot attack each other for 30 seconds, which stops the instant betrayal but nothing after it.
Check what you would lose in the Market Explorer before a lethal trip, and see what people die in with the Death feed.
Game balance changes between patches. Check requirements, yields and costs in game.